


How to Meadow(scape)
Probably the most thorough walkthrough of Meadowscaping you'll ever find.

Welcome to Huckleberry Meadows! We are here to help you feel confident as you proceed.
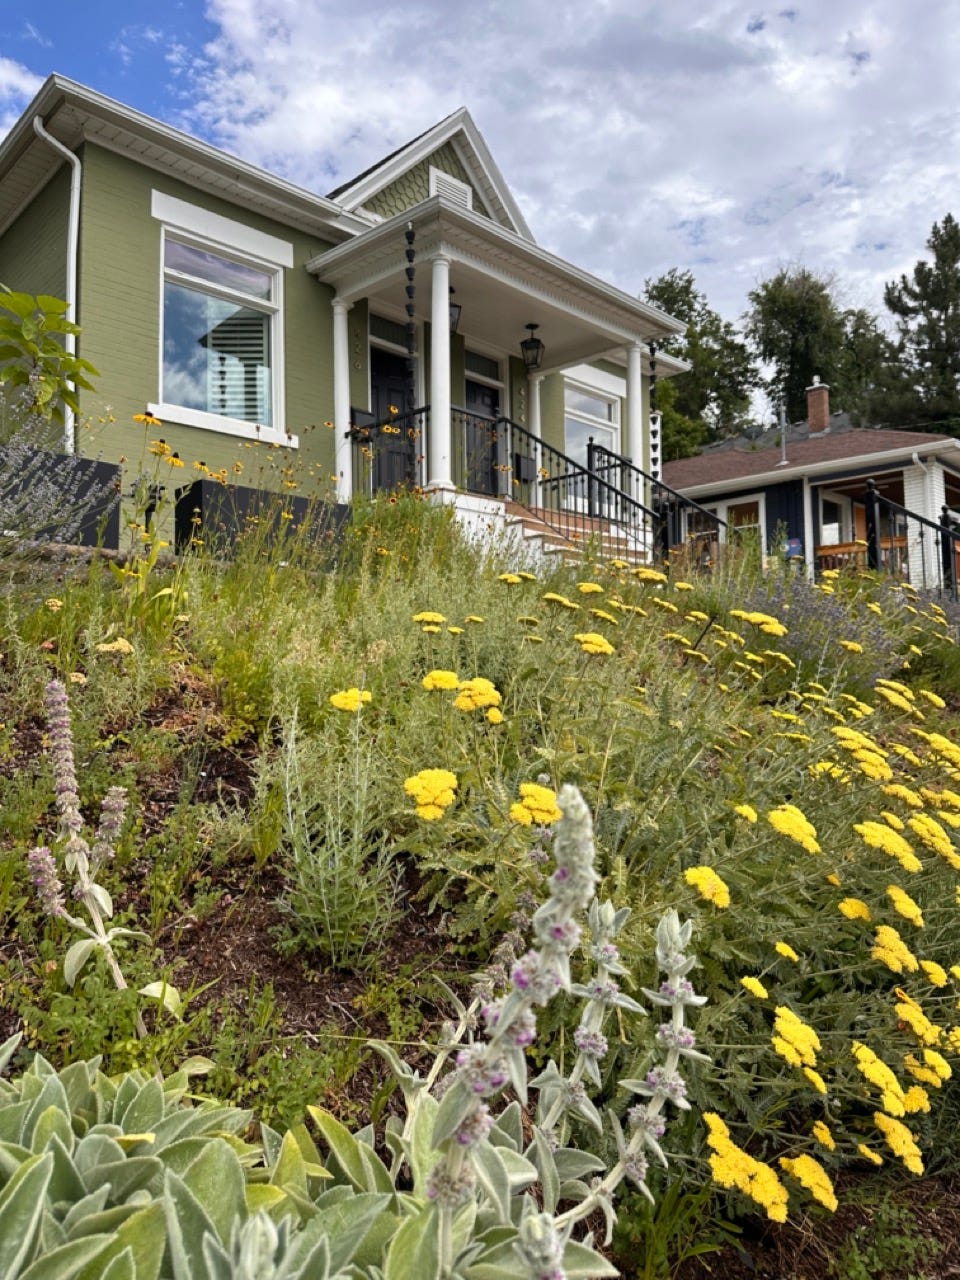
“Meadowscaping” can be defined as growing a natural and diverse garden instead of a sparse, monocultured landscape. Meadowscaping is a garden design element of growing a lush and thick “meadow” instead of a lawn or english-style garden. Put simply, meadowscaping is the act of growing a meadow in place of other types of gardens.
The following is a robust guide to meadowscaping, intended to help you see meadows from a less intimidating and systematic lens. Happy meadowscaping!
A simple overview:
Build your meadow in the fall or spring, but during the summer and winter you can still make things happen!
Design and plan first: Consider primary features like lounge areas, pools, pathways, play areas, chicken coups, sculptures and etc.
Get rid of lawns and other overgrown plant life
Add compost or soil pep on top of your old soil for best results
Make sure your seeds have 2-4 weeks of daily watering for a wet soil surface (heat is your biggest enemy here)
Put in primary plants, then seed the rest of the area to save money
Add lighting and artistic features to help your meadow become more magical, even at night!
Meadowscaping is an act of letting nature’s probabilities take over
One of the ways that has worked best for me in thinking of and planning for meadowscaping is thinking in terms of statistics and probability. In any given environment, there are many factors that will impact the success of your meadow. You can work to optimize one, some, many, or all the factors associated with meadow growth. Some factors, of course, you cannot change like sunlight and shade. Adapting the other factors for unchanging factors is all you need to do.
As you optimize your factors in favor of the plant breeds you’ve chosen to grace your meadow, the success-likelihood of your meadow flourishing increases. Even small tweaks to simple things, like soil content, can make a big difference.
“Optimizing environmental factors” is an act of maneuvering natural growth laws and/or speeding up natural processes. For example, the amount of water your seeds have access to on the surface of the soil during the first month of growth will greatly impact the likelihood of their germination and establishment, regardless of what time of year it is. (Maybe don’t water during winter unless you’re certain things won’t freeze.)
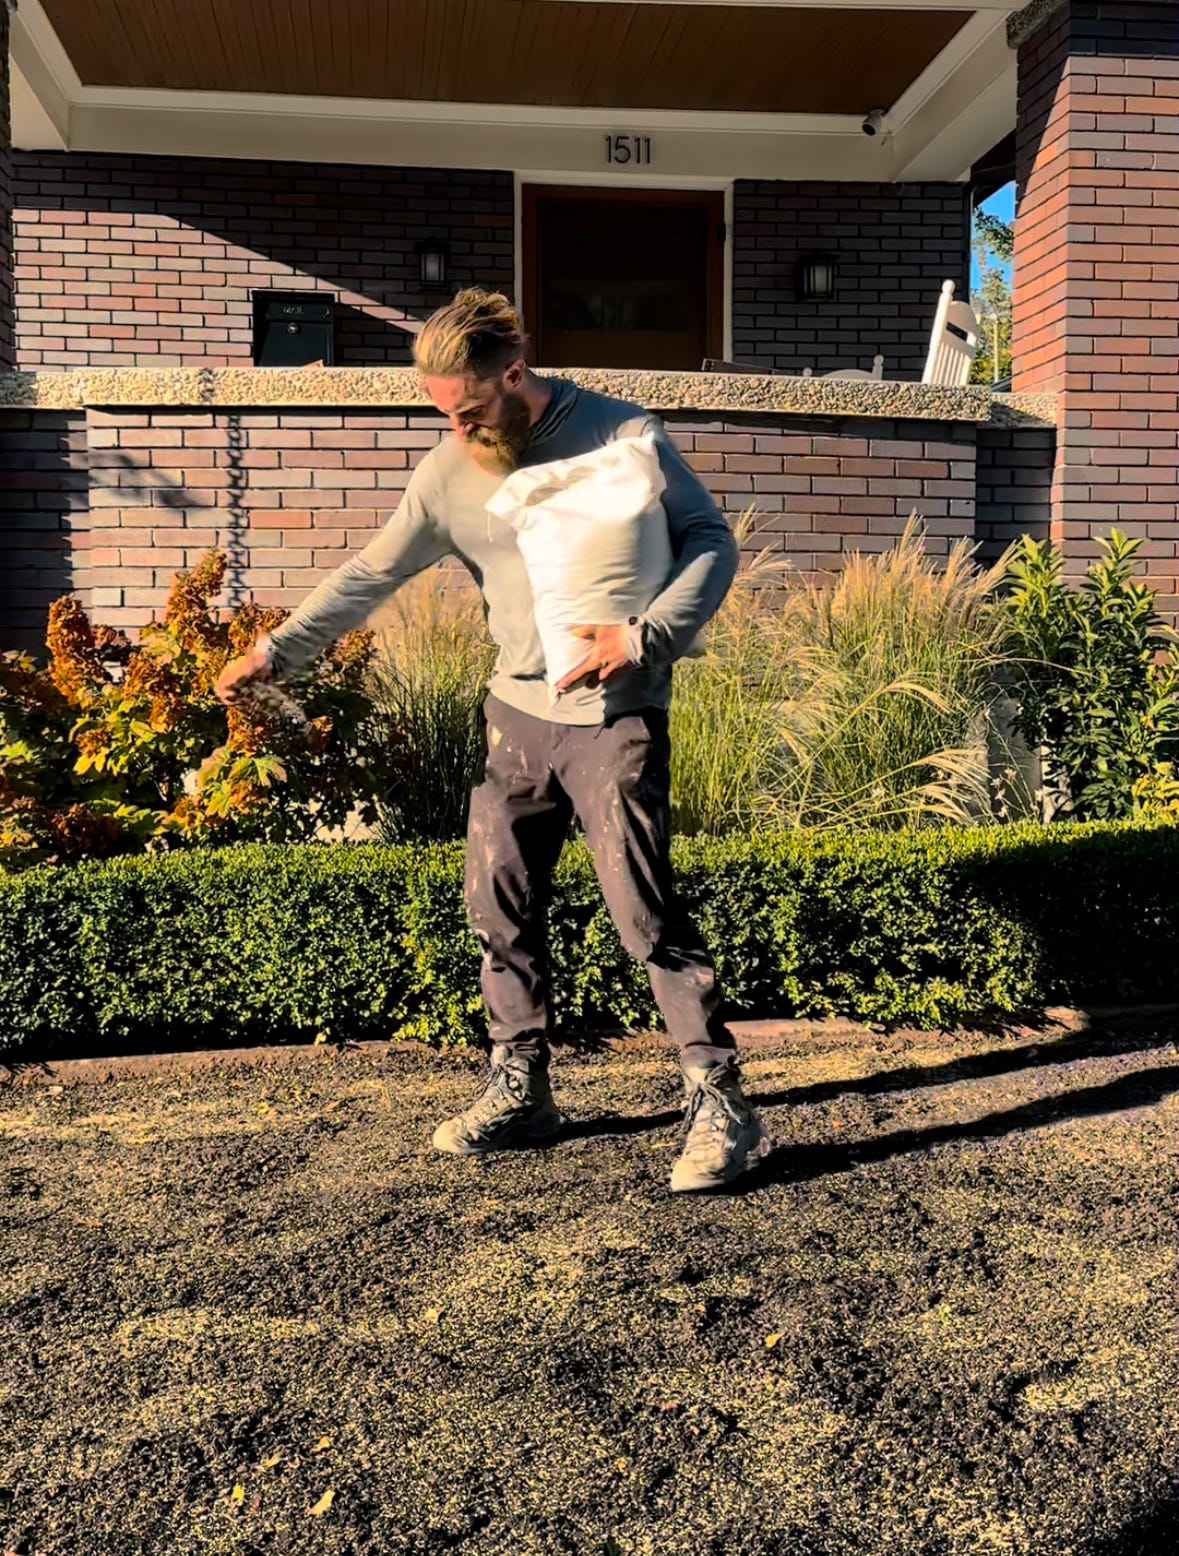
And yes, you really only need to broadcast the seeds, tossing them with your hand! I don’t even use a distributor, I love to feel the seeds with my hand and experience them as I toss them. After broadcasting, I like to roll them over with a roller or my feet to get better contact with the soil. If you are really feeling committed to optimizing your odds, you could press each and every seed an inch into the soil, but this is not necessary, though if you do, kudos for playing your statistical game right.
How certain seed blends can help improve your “odds”
At Huckleberry Meadows, we seek to aid your statistical play with our seed blends. Our blends are thoughtfully curated to maximize the likelihood that some and many of the seeds contained will work for any environment, regardless of how optimized other factors are. Not only do you get the benefit of our thoughtful blends, but you can also save a ton of money by seeding instead of working with plantings. At Huckleberry meadows, we typically recommend planting various “primary” mature plants, and then seed the rest of the area. This way you have immediate aesthetic, plants curated to you, and you can save so much money.
The primary factors
I am here to tell you that you can build your meadow at any time during the year, literally. That may sound silly, but remember this is a statistical probability game. As you optimize other factors, it may not matter as much what time of the year you are meadowscaping.
Some of the biggest factors to have in mind for meadowscaping are the following:
Sun/Shade Exposure
Rain/Irrigation Rates
Seed and Plant Breeds
Time of Year
Elevation
Soil Quality
Competing Plants
Sun/shade exposure
If your meadow is in full sun (namely areas without tree shade and particularly in south to south east positions (in the US)), then you’ll need to choose sun-friendly plants. If it’s kind of a mixed bag of sun and shade, we recommend mixing blends of seeds and plants and watching who ends up thriving.
Rain/irrigation rates
Seeds will require daily soil moisture for 2-4 weeks at first. Either that, or they need to be broadcasted during the winter to cold-stratify and benefit from winter and spring’s extra moisture. If you have irrigation, it’s important to remember that the surface of the soil needs to be wet, not the sub-surface (this is one of the initial problems with drip systems for seeding, otherwise drip systems work wonderfully at keeping sub-surface soil wet!)
Chosen seed and plant breeds
Seed blends with many species and varieties are a wonderful way of maximizing the outcomes of your meadow. By having variety, you are letting nature find the right species for the right spot. Seed blends with a great variety of responsibly curated, diverse, as-native-as-possible breeds are the best ones.
The method of broadcasting can possibly impact your chances of a healthy establishment. For example, literally plunging the seeds one inch deep could improve the seed’s chances for establishment, but you may not have time to directly plunge 100-300 seeds per square feet into the soil. As such, we simply recommend broadcasting by hand and then pressing the seeds lightly into the earth by foot or with rollers/tampers. Not only does this still give you plenty of good favor, but there is something special and ceremonious about spreading the seeds yourself, feeling them leap from your hand like a leap of faith.
Time of year
Seed meadows during the spring or the fall. Fall is personally my favorite time to seed meadows, as you get to give your meadow seeds a winter’s worth of water. Spring works wonderfully, too. If you start your meadow in June or later, don’t fret too much, nature still knows what to do (remember this is a statistical game, not a zero-sum). Harnessing factors like reducing sun and heat can help you maximize the chances you have of growing a late-spring or summer meadow. I have used shade cloth for meadows and it helped significantly with seed establishment. This is why greenhouses were invented, by the way, to optimize factors for seed germination.
Elevation
I debated including elevation as a primary factor. I do think it is critical, though, because certain breeds of plants simply do not like 7,000+ feet of elevation. Others thrive. Others prefer sea-level. If you are questioning what plants prefer for elevation, get out into nature and check your elevation, then check which plants surround you. This is the wonderful art of meadow-study.
Soil quality
Soil quality is an immense science and industry. Simply put, the healthier your soil biome (top 6 inches), the better your meadow will establish. If you don’t want to perform a full soil analysis to identify the specific needs of your soil, I have used either soil pep or compost spread on top the existing soil across the entire meadow coverage and it has worked wonderfully.
Competing plants (kentucky bluegrass lawns are a good example)
If I’m honest, you don’t necessarily need to rip out your lawns. Remember, this is a statistical game! Removing your lawn will significantly improve your chances for meadow growth, but that’s just one factor in it all. If you aren’t going to remove your lawn or other competing plants, don’t fret. Cut up your lawn and make holes and sections for the new meadow to find access to healthy soil. As the meadow plants establish, and you let it grow wild, nature will do its work and the competition is on! Remember that lawns are technically meadow grasses bred into zombie mono-cultured, weird, turfs. They actually want to grow into meadows. There is a lot to say about the invasive nature of most any modern turf, though, so Huckleberry’s preference is that the lawn be removed. But again, if you don’t want to remove it, you can remove some of it, giving the new meadow a chance to compete with that weird, zombie grass.
Meadowscaping: The Process
Planning a meadow or natural garden can be very daunting. One of the most helpful paths to follow is to bring in landscape designers such as Natural Space. The folks at Natural Space will be delighted to help you plan the perfectly curated meadow with you. If instead you’re interested in diy, you could also enlist consultative help from us. As you dive into the work, you may want help from professional landscapers like Armstrong Desert Landscaping. Here below, I’m going to walk you through the key steps: The path and process to follow:
Design and plan, to one degree or another
Remove lawns, and other plant growth
Hardscape, shape the land for style and feature
Add an irrigation system
Optimize your soil
Add lighting and artwork for a special touch
Plant “primary” plants
Time to seed!
First Step: Design and plan
It’s really important to have some degree of understanding around what your meadow will look like before beginning. You can go as far as a professional landscape design, or you can draw it out yourself. You can have it in your mind, and you can even consult with professionals. At Huckleberry Meadows, we offer consulting options, seen here
If you’re looking for a more robust design, check out our amazing friends at Natural Space

2nd Step: Remove lawns and other plant overgrowth
For the most part, you’ll find yourself pulling up old plants, shrubs and trees to make way for your meadow design. But of course, the bigger challenge is removing turf. There are various means and methods by which you can more easily remove turf short of a shovel and labor, here are some ideas for you. I think it’s important to note now, that you don’t necessarily need to remove your lawns, you can still make a meadow! It’s up to you, your design, and your budget, in the end.
Tarp choking
Sod cutter machine
Chemical killing
Tilling
Leaving it in (say whaaat!?)
Tarp Choking
Using plastic, tarps or weed barrier is a great way to scorch and choke the turf. Choking the turf will weaken its root vitality and allow the turf to be removed more easily. This method does take time, however, and the longer you scorch the turf the more degraded the system will become. If choking for long enough, you may not even need to remove nor till the remaining matter, at this point it can act as fertilizer and a little bit of mulch for your new meadow. I’ve heard of people putting cardboard in to choke turf, too, which can also be left to use as a compost of sorts.

Sod Cutter
If your turf is full and lush, well-kept, then this is a good opportunity to rent a sod-cutter that pulls up your turf in a nice neat roll, allowing you to even sell your sod to others on local marketplaces! It’s important to emphasize that you should do this only if your turf has been well-kept and maintained. Attempting to use a sod cutting machine with a weakened grass layer is really difficult. If you want to hire someone to remove your lawn, we highly recommend our friends at Sod Ripper

Chemical killing
The ONLY time I’d ever recommend using chemicals to kill your turf (to make it easier to rip out) is if you are dealing with a crab grass infestation. Otherwise do not use chemicals to kill your grass. Those chemicals will remain in your soil for quite a while and may prevent or reduce your chances at growing a healthy meadow. However, yes, if you have a really nasty case of crab-grass, it may be all you can do. (Even tarp choking sometimes doesn’t work on crab grass, which is freaky. It’s an alien species, I swear)
")
Tilling
Some of you may have picked up on the idea of “no till farming”. It’s a big debate going on in the agricultural world right now that frankly may or may not apply to your lawn. Tilling is a great way to destroy root cultures if you’re dealing with a lot of tricky, uneven ground, and inconsistent turf. Do not till the grass area until you’ve killed it, though, so it’s recommended you choke the turf first before tilling. Turf grows at a consistent “carpet” depth of about 3 inches, which is why tilling is much easier than shoveling. You can leave a lot of the broken up roots as fertilizer, yes, but I recommend removing as much plant material as you can. It is, however, important to consider that all of these methods may not be necessary, as talked about next.

Leaving your lawn in!
You can meadowscape AND keep your lawn. I have met many people who plant meadow plants directly into their sod, cutting into the turf with enough space between the grass roots and the new plant so that it’s not competing. Over time, their lawns have transformed into a meadow, one by one, bit by bit. I haven’t had the chance yet to try seeding meadow seeds directly into turf… I’d like to, anyone want to volunteer their lawn?

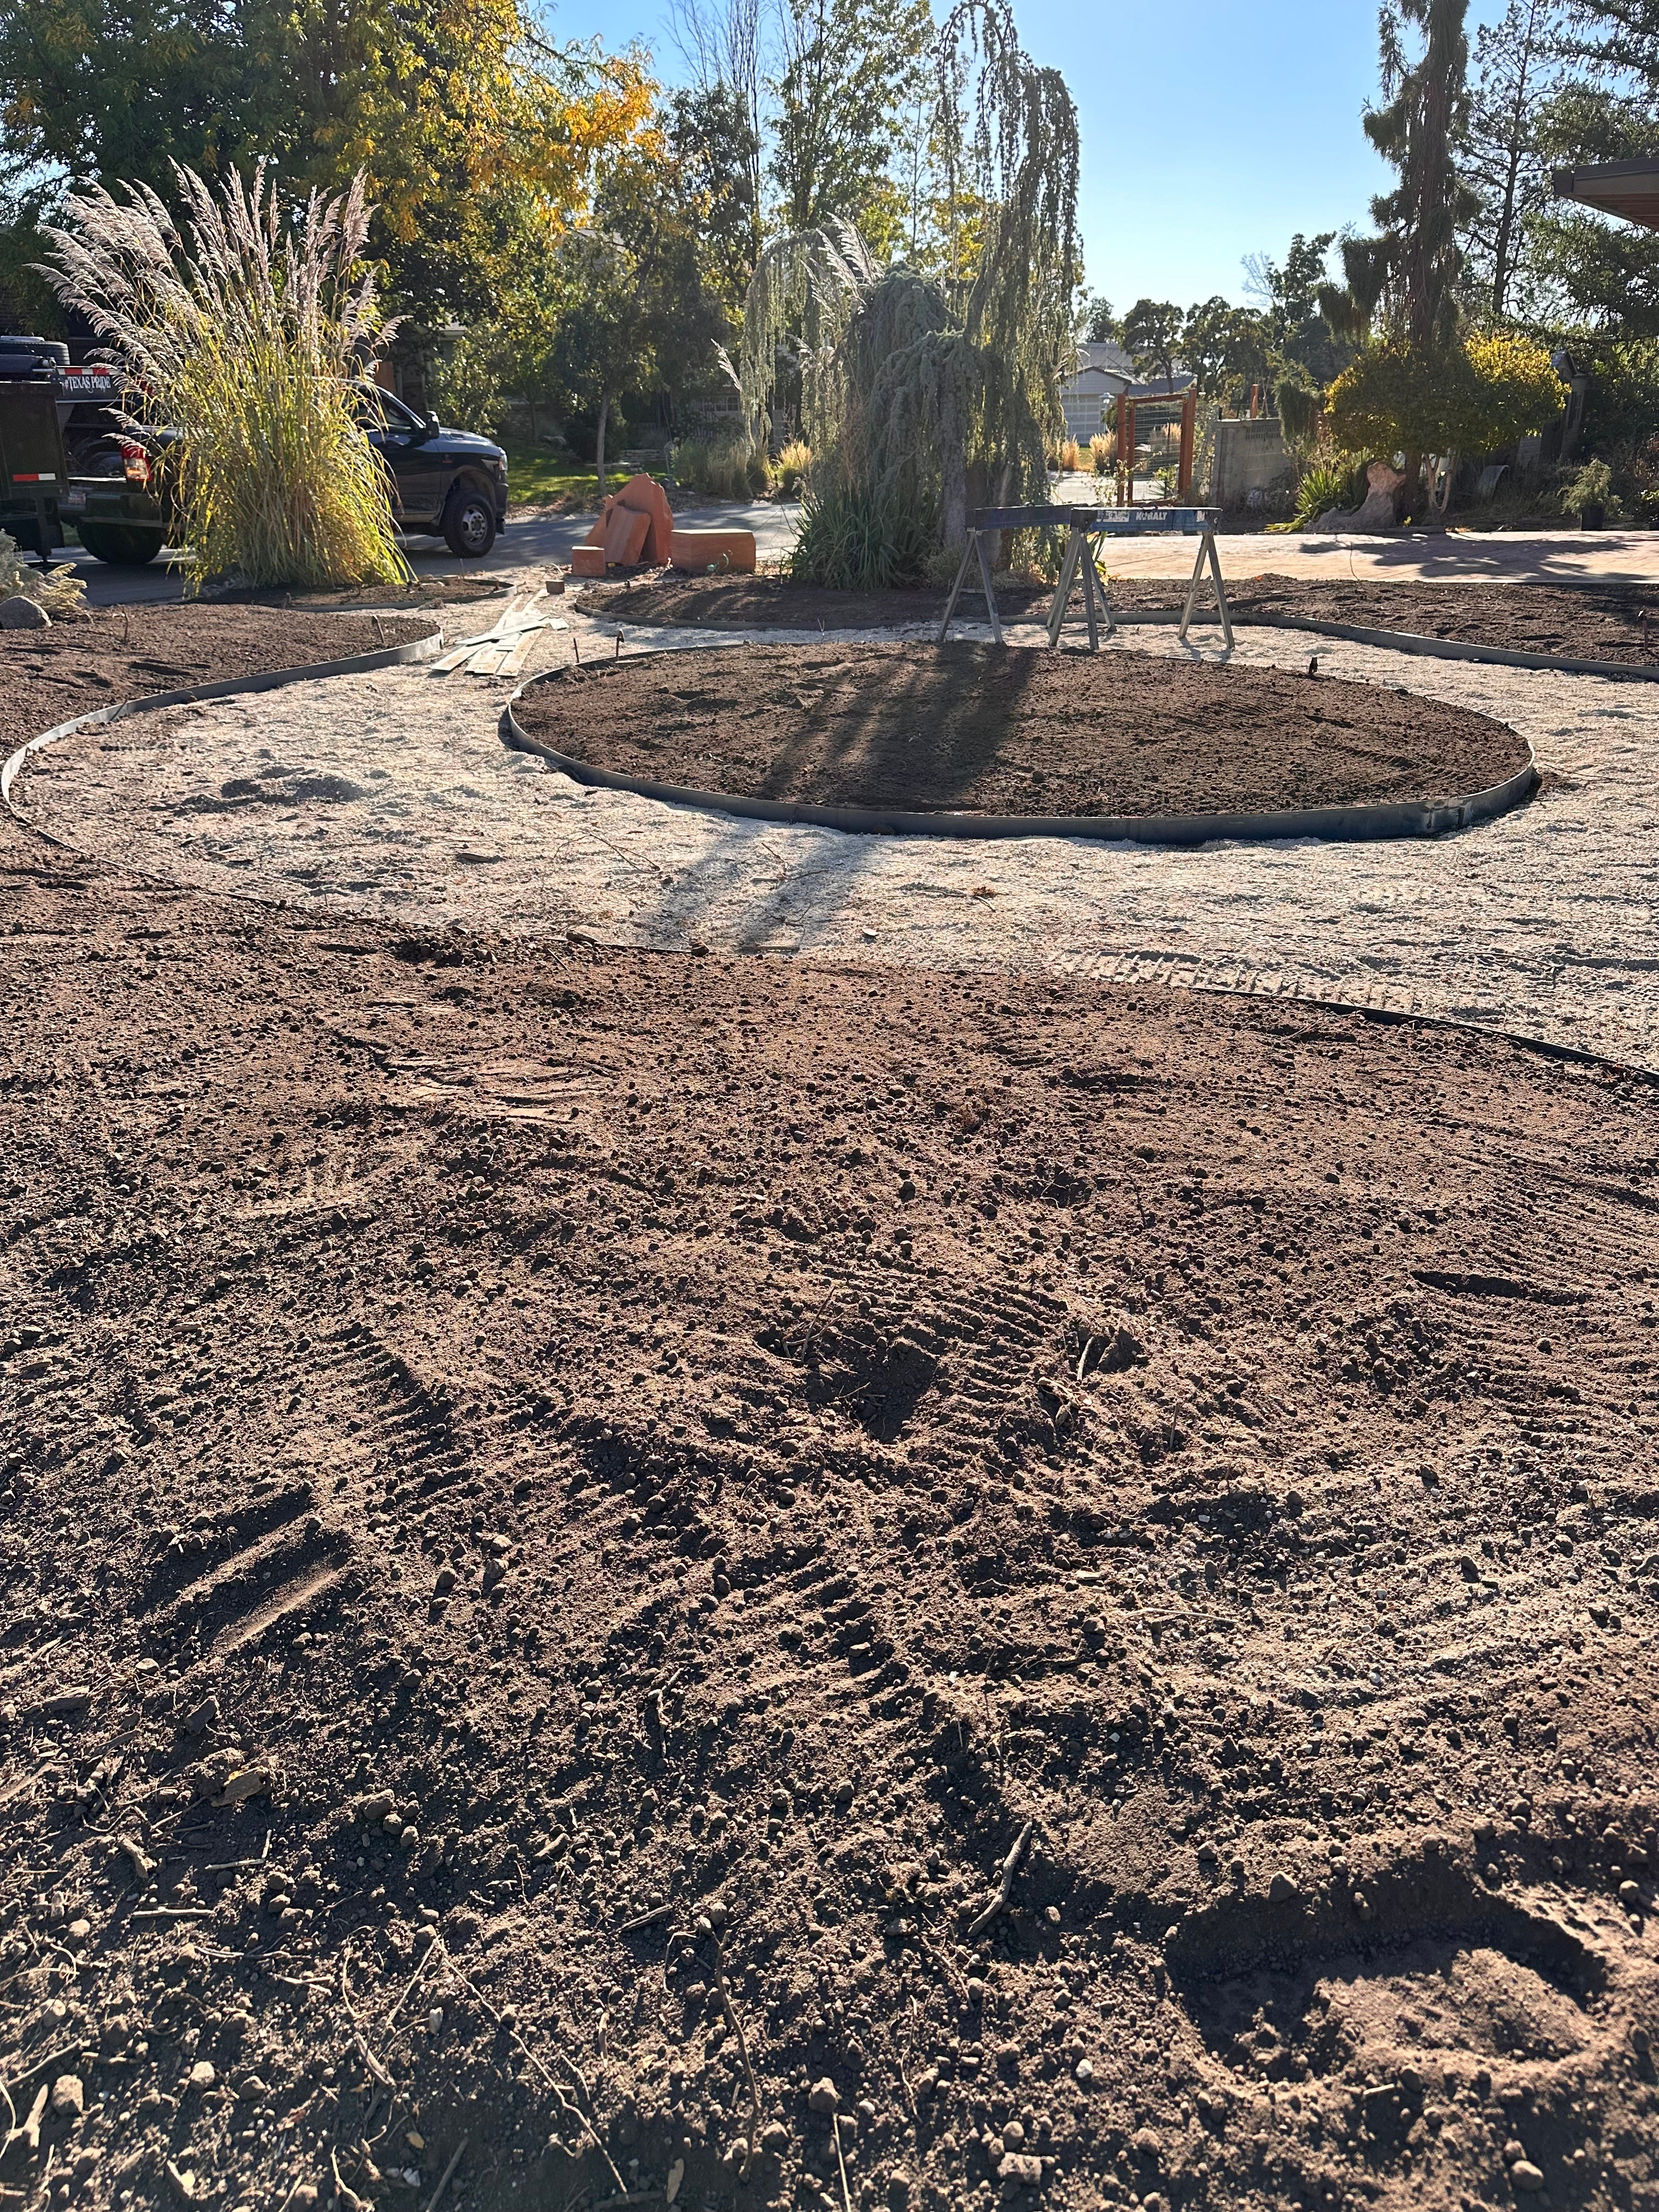
3rd Step: Hardscaping: Shape the land
I see a lot of people flipping their lawns and only back-filling it with either gravel, or mulch without any shape, and zero diversity. To me, this makes me a little sad at the opportunity missed. You can still have a water-wise property using a fraction of water, while still having a diverse, whimsical and inviting garden. The secret to a good look is hardscaping in advance according to your designs. By incorporating shape to the ground with berms, trees, and shrubs, by adding meandering pathways through your meadows, you greatly enhance the inviting nature of your natural garden or meadow.
When initially considering your designs, take a look at your space and consider the things you would like to experience and do in these spaces. Perhaps you want a sitting spot? A meditation corner? A water feature? All of these experiences can help you dictate how your paths and berms and land-shaping end up coming into reality. Here are some things to think about when planning?
Just a quick note on weed barrier. The only time I’d ever recommend weed barrier is for pathways. Otherwise, don’t use it. Mulches and a biodiverse garden will protect you from weeds jus as well. What’s worse, though, is that weed barrier still doesn’t stop 100% of weeds, especially over time. So just don’t put plastic in your gardens.
Features to consider:
Curves, hills, and berms
Edging and pathways
Walls
Fences
Water features and natural pools
Lounge areas
Sitting/meditation spots
Artwork features and accents
4th Step: Irrigation
Irrigation is not as intimidating as you might feel, initially. Did you know that you can actually convert existing sprinklers to drip systems? But did you also know that I don’t actually always recommend drip systems to everyone? Unless there are significant monetary opportunities for you to do drip (e.g. rebates), sometimes sprinklers are better! It doesn’t mean you’ll be running them for as often and as long as you do for lawns, but sprinkler’s ability of keeping the ground wet is tried and true.
Drip systems
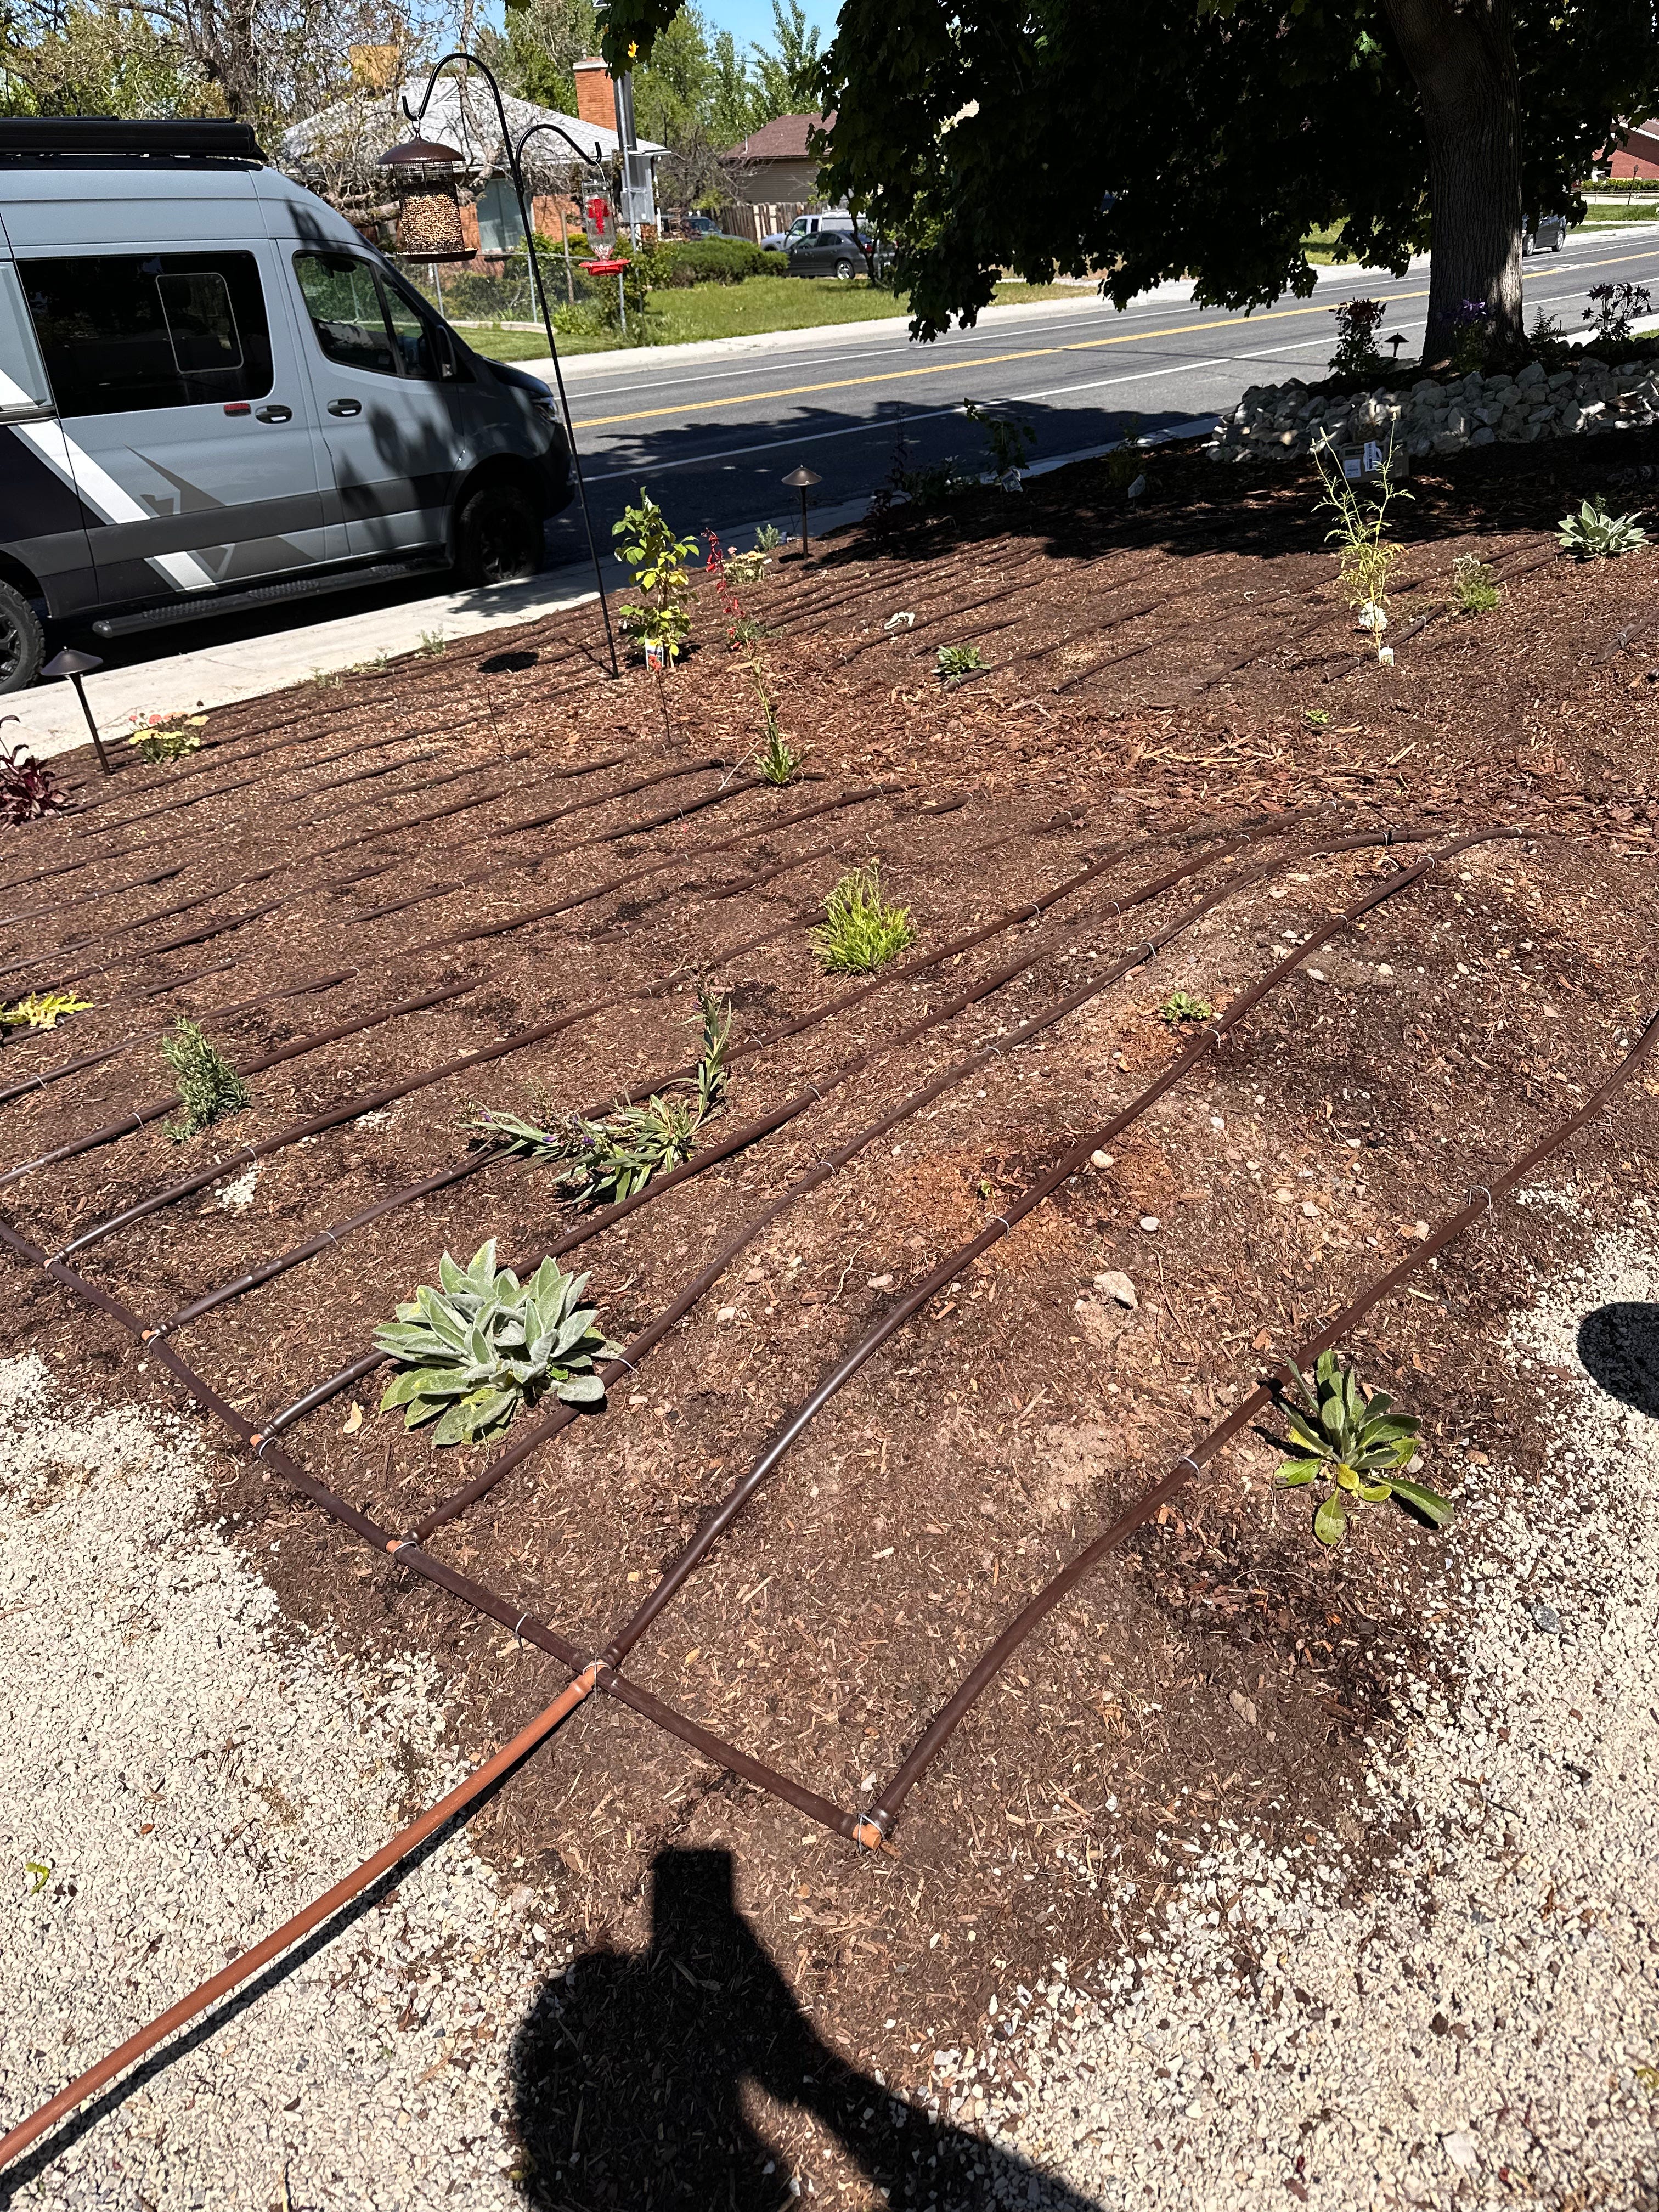
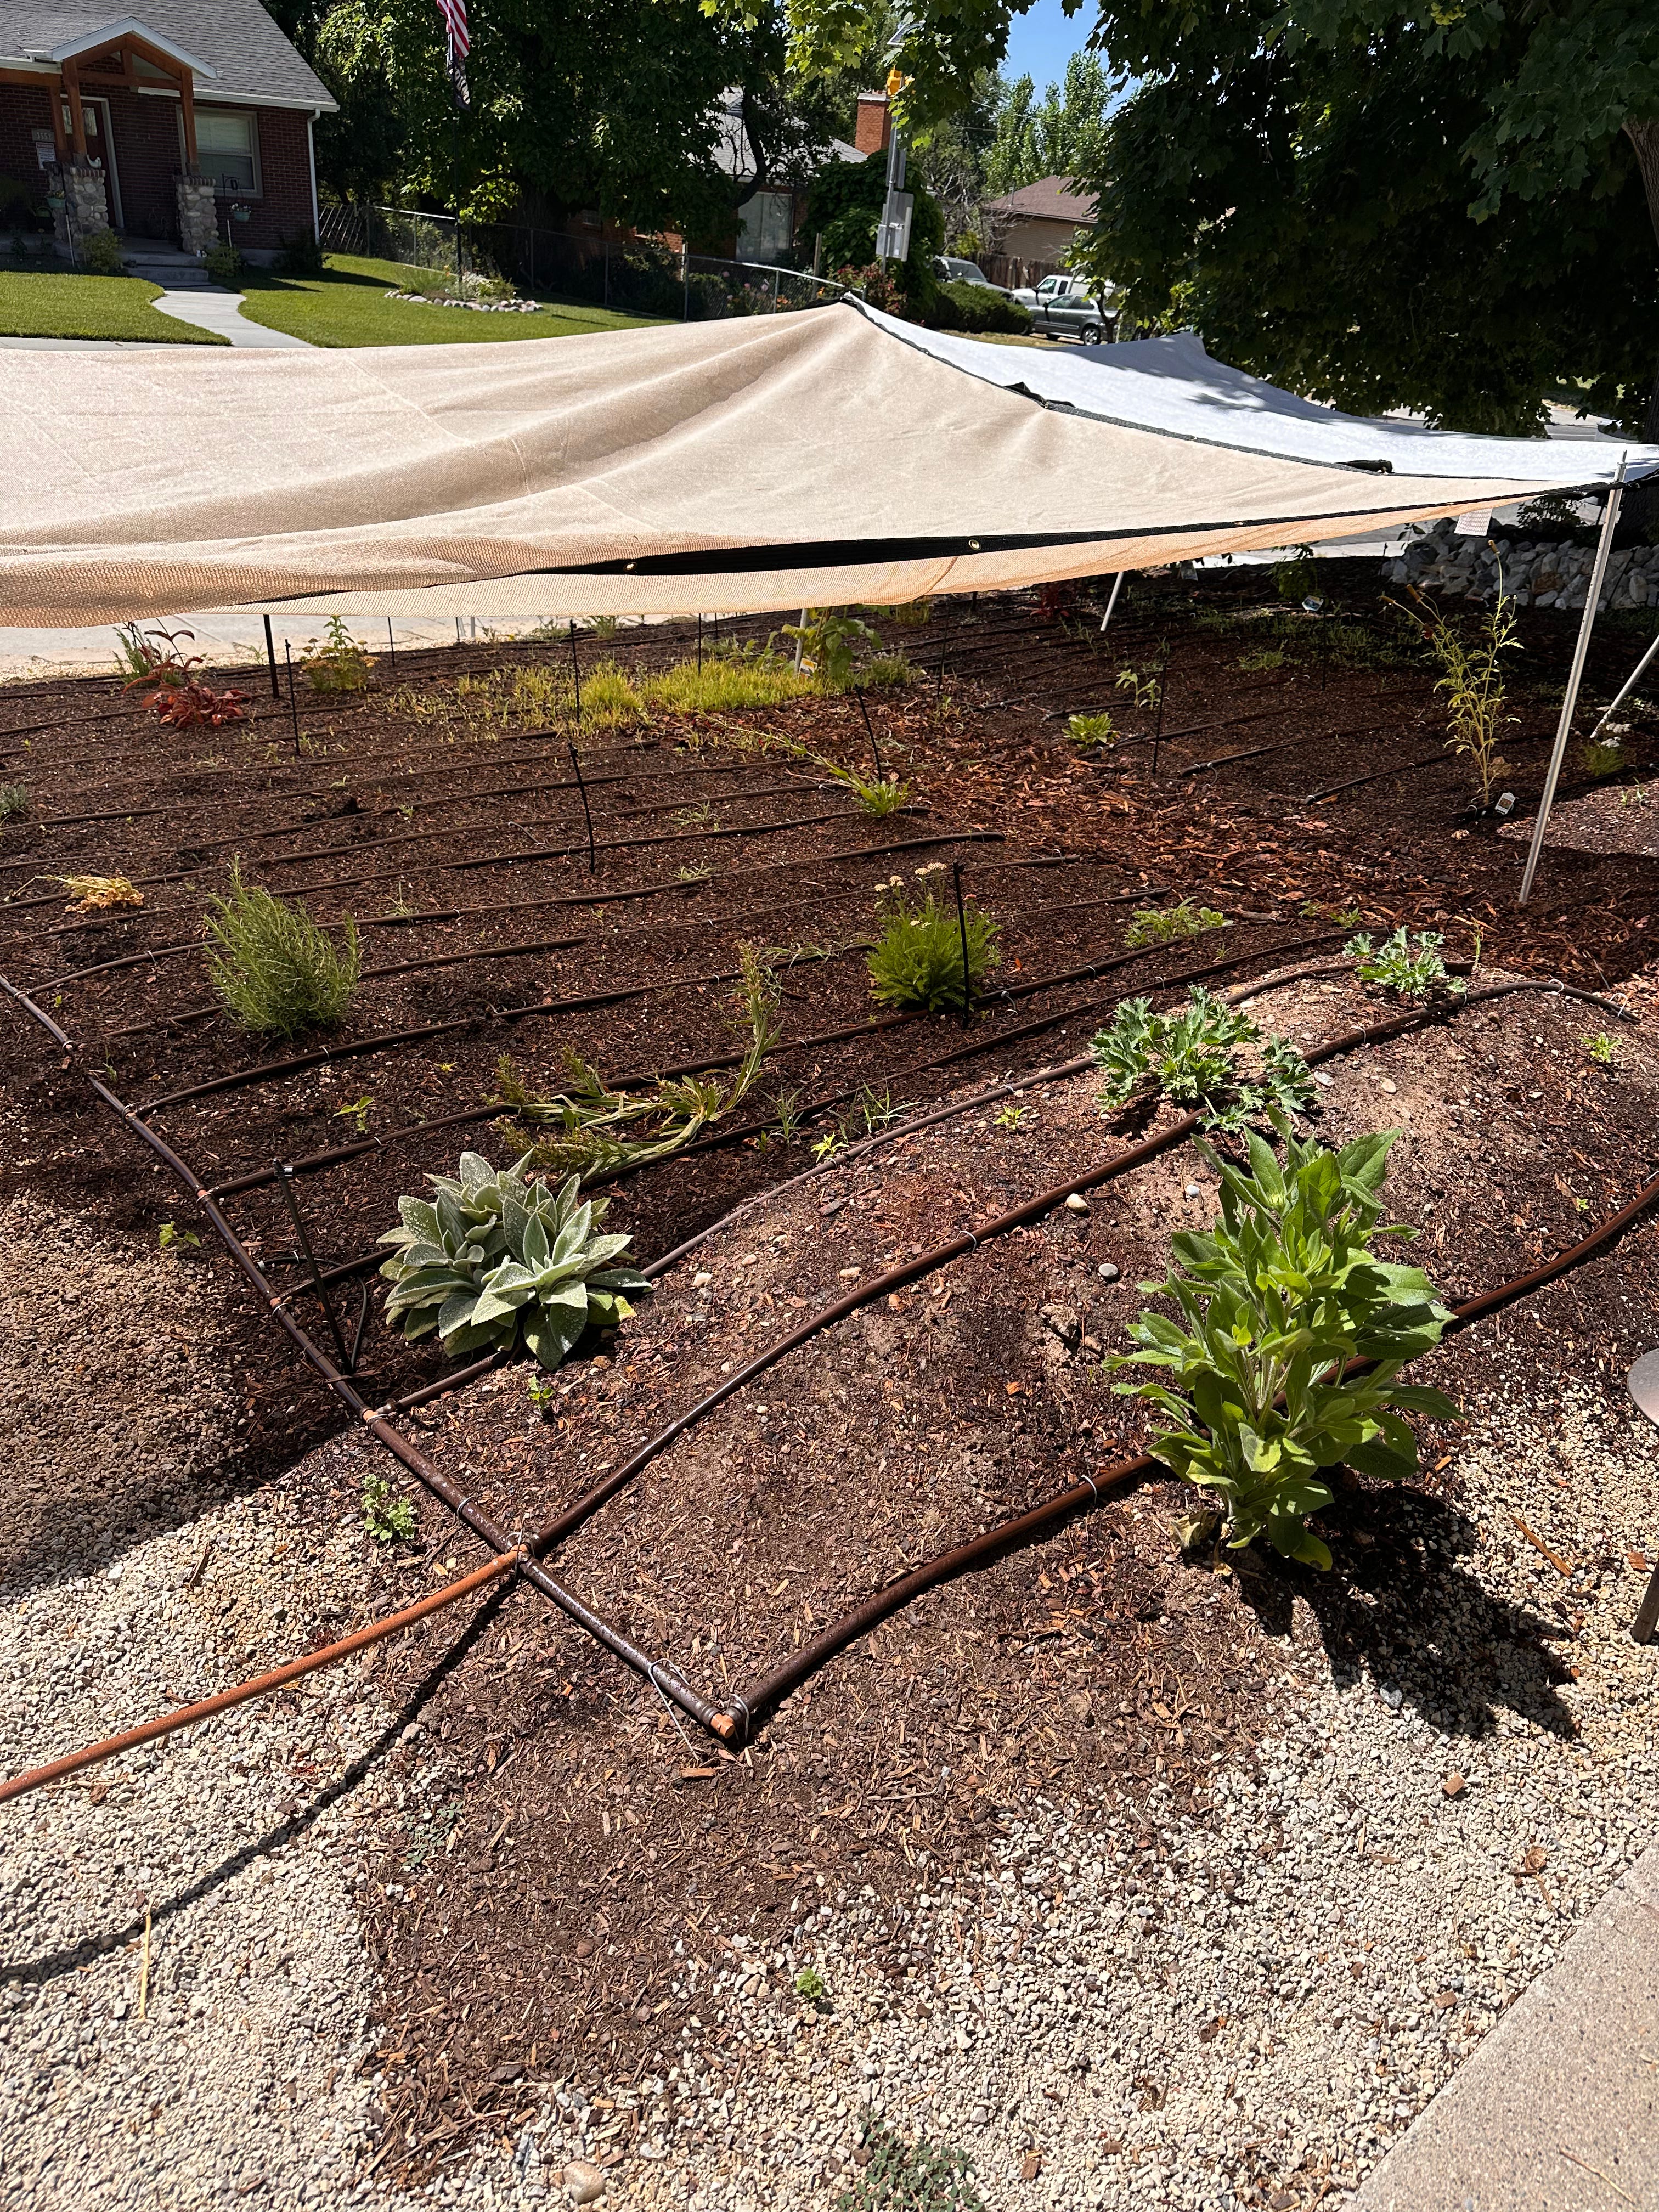
Drip systems offer a unique advantage of minimal water waste and evaporation. They also get the water directly to where the plants need it most, at their roots. However, when it comes to SEEDING a new meadow, I have noted various limitations to drip systems. Seen below, I did a meadow with a 12-inch spaced drip system but quickly realized that the topsoil was not going to stay wet and cool enough in June. (Unfortunately I seeded too late in spring). But I was determined and pressed forward, adding spray emitters directly to my drip lines (reducing my GPH a little), and adding a shade cloth to protect the soil from June temperatures. It worked!
Good ol’ Sprinklers
You can keep the sprinklers that have been watering your lawn! Unless you’re undergoing significant changes, these sprayers could still work very well for you, and you definitely won’t need to add new pipes. The benefit you get from sprinklers is their ability to keep the top of the soil moist, an environment that seeds really need in order to germinate. Drip systems do not keep the general square footage top of the soil wet as well as sprinklers do. I have even heard of people keeping sprinklers, then later converting to drip once their garden was more fully established.


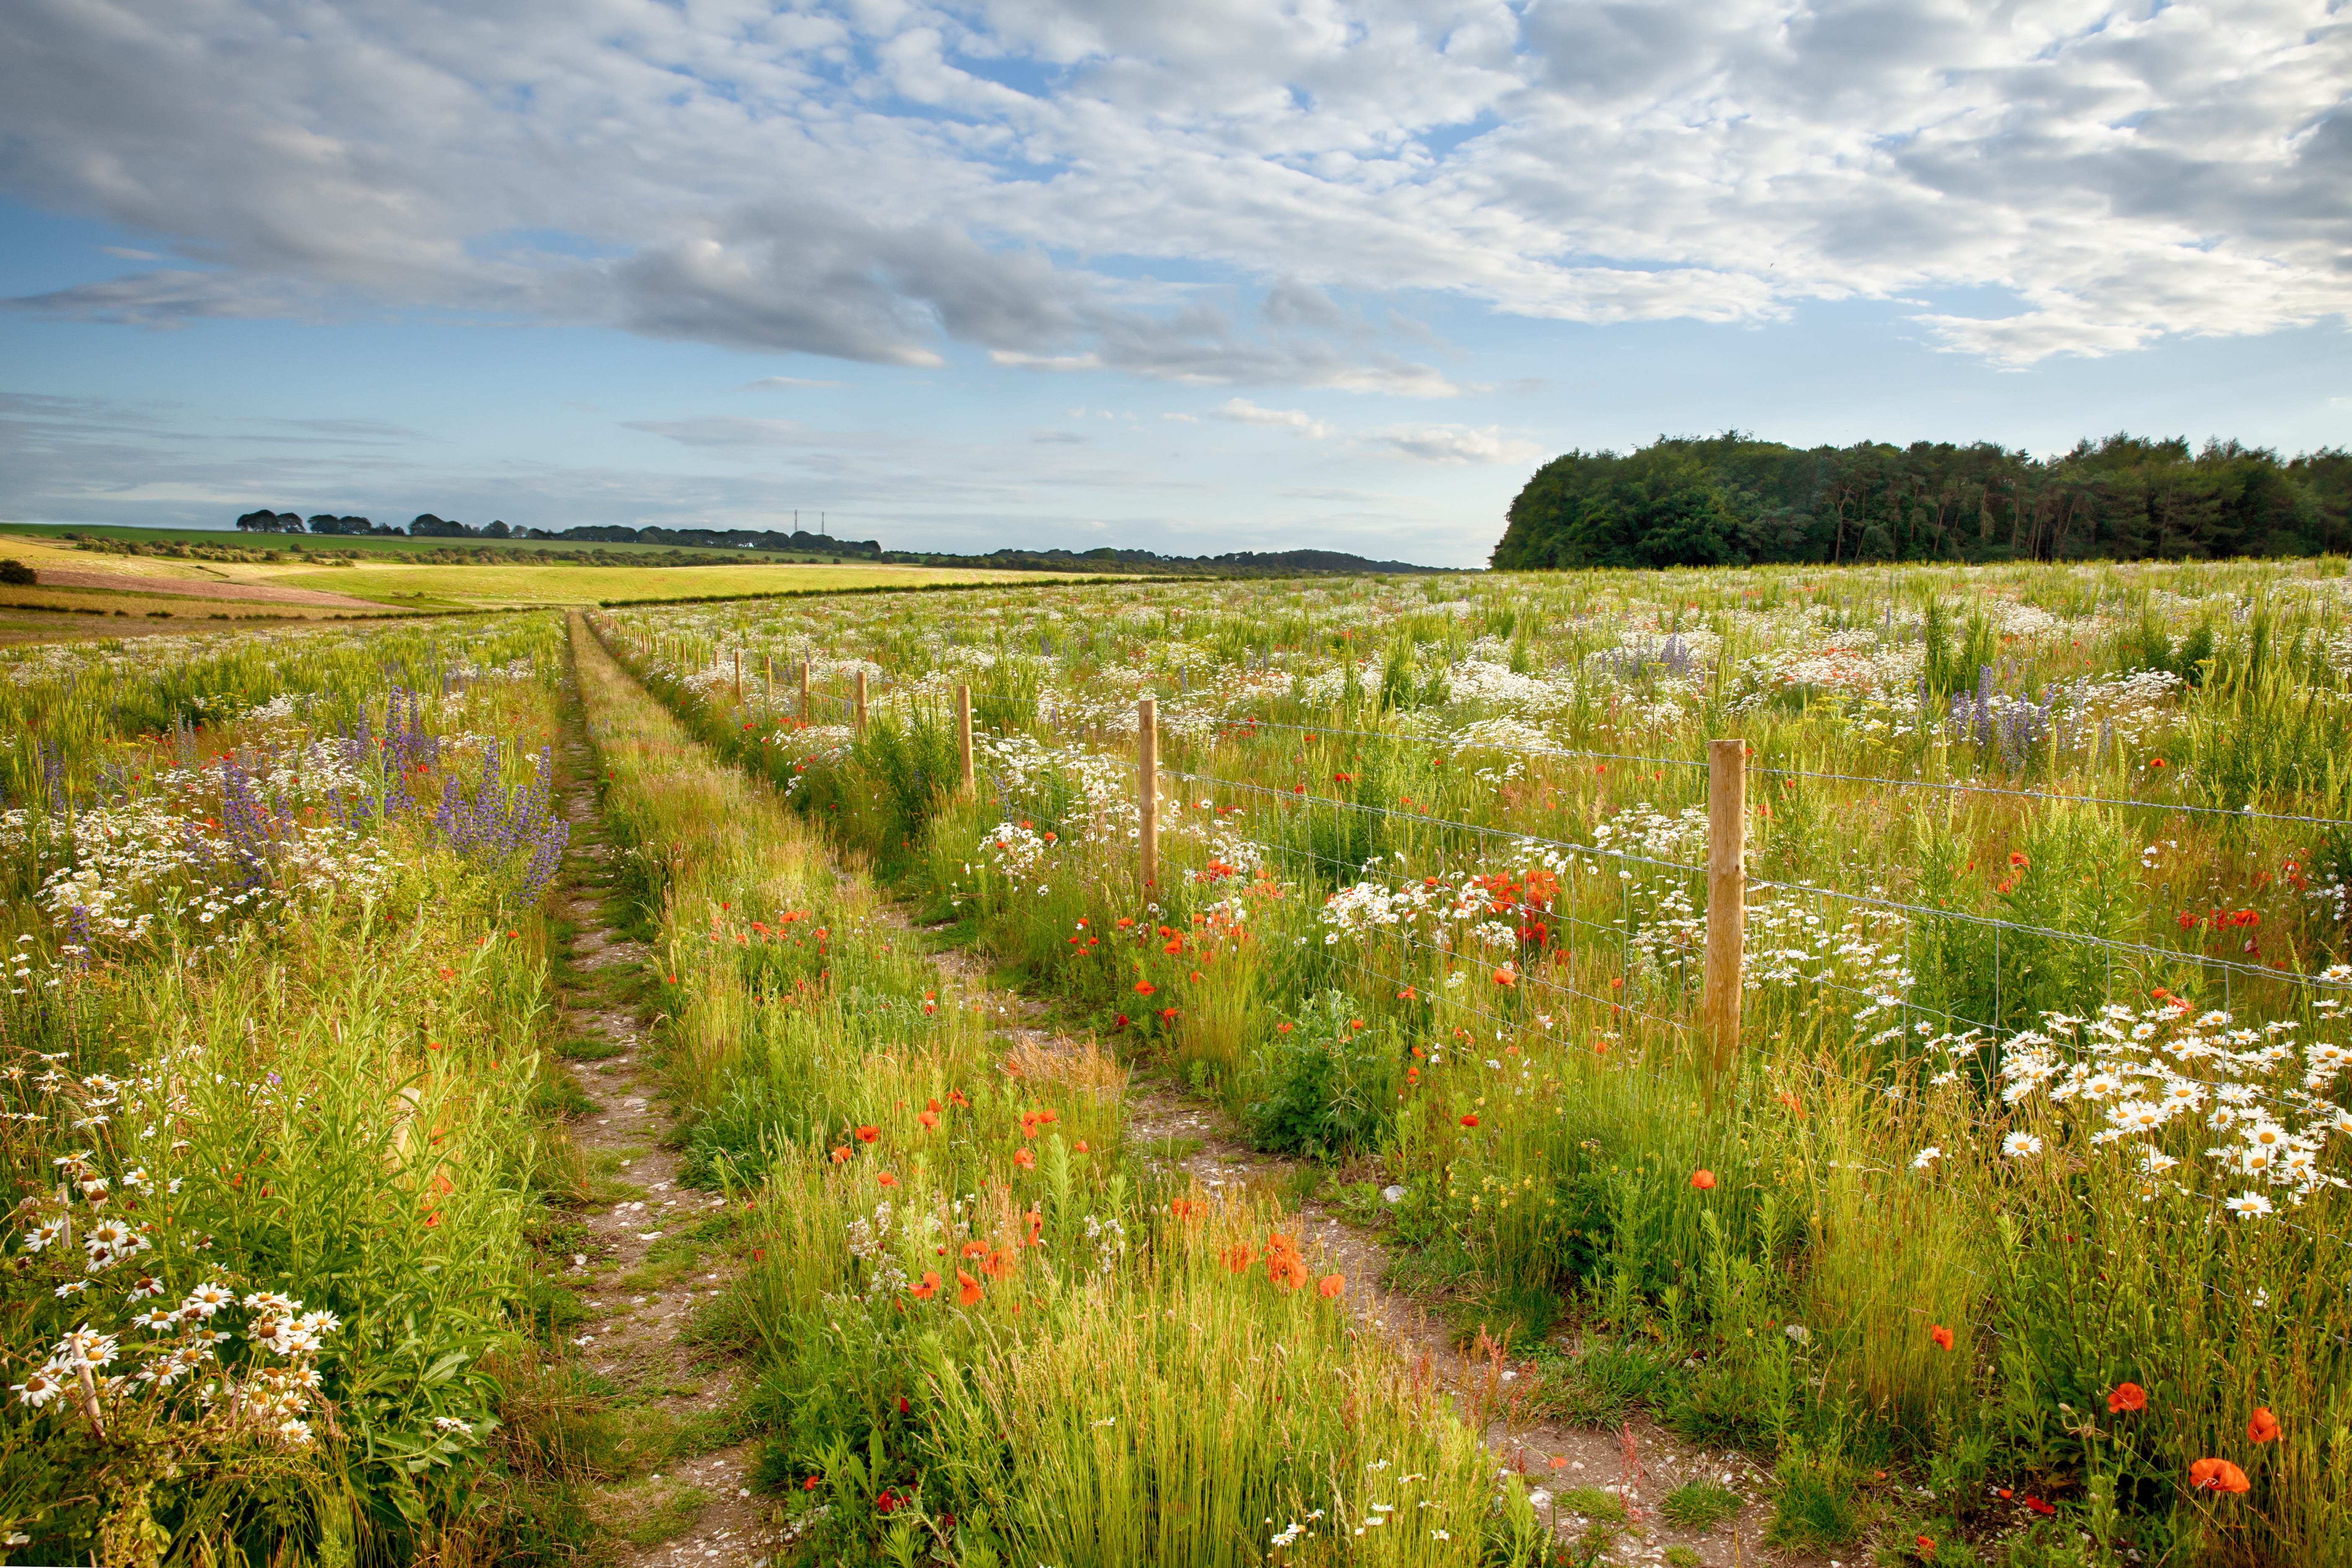
No irrigation - a “dry” meadow, doesn’t need to be “xeriscaped”
You CAN get away with a no-irrigation, native and water-wise meadow! It’s how nature grows naturally! You will have to select your plants wisely, like our wildflower meadow blend, Summer’s Meadow, which is filled with water-wise and native flowers for the western US. By choosing your plants wisely, and most importantly WHEN you seed and plant, you can have an irrigation-free garden! The best time of year to plant and seed your irrigation-less garden is in the fall. It gives the seeds and plants the entire winter to soak up the moisture, springing them into an abundant spring. You can also most certainly seed and plant in the spring, try to be as early in the spring as possible, like in March, you want those seeds to soak up those spring storms!
A caveat, though, is that you may have to frequently re-seed each spring and fall, as without water you are losing the benefit of that factor, in terms of probability, and remember that you have to adapt by leveraging other factors such as time of year, more seeds, different breeds. A lot of people recommend that you still need to have up to 2 seasons of continuous watering for new meadows and gardens, in order to ensure their establishment. But again, nature has her ways, and many of your plants will do okay. But helping them out throughout the summer months with extra watering wouldn’t hurt.
5th Step: Soil
One thing’s for sure, “if it ain’t broke, don’t fix it”. What I mean by this for soil is how does one know if their soil is “healthy” or not? Well, so long as your soil isn’t construction dirt, there’s a decent chance that there is some level of goodness in your soil. Every soil, too, has a type, and each type has it’s own struggles and benefits. This is where “soil amendment” comes in. Soil amendment is our godlike ability to optimize the probability factor of soil health to a place that fosters maximized meadow establishment. In all honesty, for seeding a meadow, your local soil as it stands may be healthy enough. But to me, any level of amendment never hurts. Just gauge this on your specific situation and budget.
Basically there are two paths you can take for soil:
You can perform a soil analysis to custom plan your soil amendment needs
You can proceed to amend the soil without testing, giving it a basic boost of nutrition with compost, soil pep, biochar, or other amendments.
Typically, I will just go ahead with ordering a bunch of compost or soil pep, layering it on top of the existing topsoil (sometimes I don’t till the topsoil unless it’s particularly compacted, like a compacted clay). With compost I use a lot less than soil pep. With soil pep I typically put down about 3-4 inches.

6th Step: Lighting and art features
At last you’ve seeded your meadow and nature has begun working her magic, growing the new plants. It’s now your chance to consider lighting and artistic features. If you took the time in the beginning to plan your meadow design, then you have allocated spots for art or lighting.
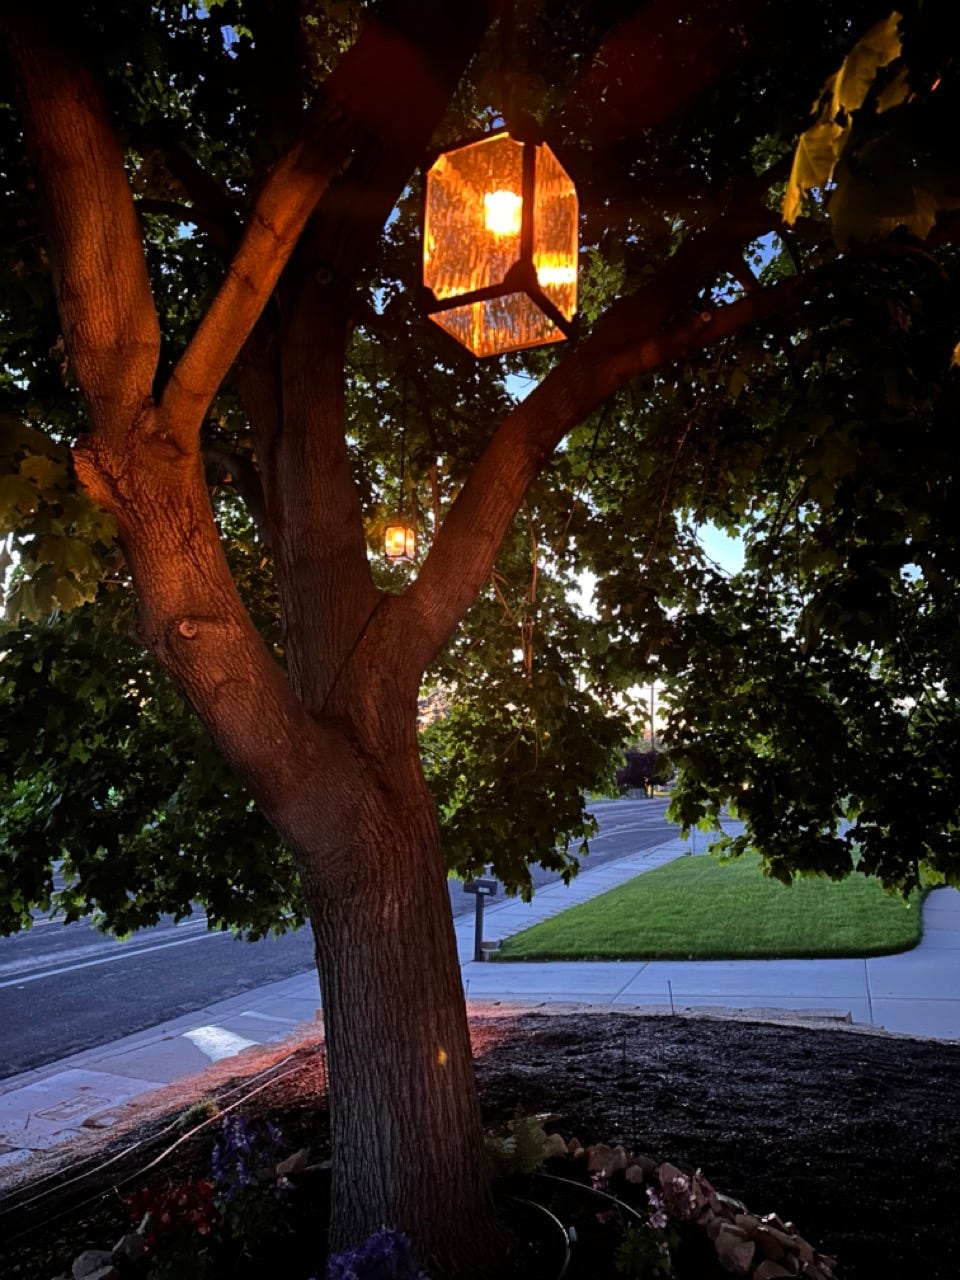
Tree lanterns
Up-lighting
Path lighting
Fence and wall lighting
7th Step: Primary Plantings
Growing a meadow from seed doesn’t mean you need to wait a couple of seasons for results. This is made especially true by occupying the strategy of “primary plantings” before seeding. What this means, is I like to plan out various trees, shrubs, food/foraging crop, herbs, and favorite plants throughout my meadow layout, and purchasing them at my local nurseries. When planning, depending on the size of the meadow, I will plan to plant “primaries” at a certain radius of square footage, one primary for every 2, 4, or 6 square feet. Once you have your primaries planted, you can broadcast seeds in between your primaries to have your meadow fill back in.
If you are going to be planting foraging herbs and foods, I recommend planting these primaries near your pathways and access points so you can get to them.
Trees
Bushes
Food/foraging crop
Herbs
Your favorite plants.

8th Step: Seeding
Broadcasting seeds is one of my favorite things in this world. It’s such a simple act that ends up having wonderful and sometimes surprising results. Hence why I built Huckleberry Meadows in the first place. When considering your meadow seeds, here are some nice guiding thoughts for you.
How many sun hours your meadow will receive will impact what species of meadow plants will thrive. So, by considering shady vs. sun-friendly plants to fit your meadow, you will maximize your results. Seed providers like us curate their blends with sunlight in mind.
Choosing a blend with a lot of diversity in plant species is always a good idea. By having a diverse list of species included in your seed blends will mean you are playing a good statistical game of likelihood that some flowers or grasses will favor where you planted them. This is a particularly great strategy if you are new to meadows and don’t know what plants grow best, where.
Time of year, as mentioned before, will greatly impact your meadow’s ability to grow. The best time to seed or re-seed a meadow is in the fall. Early spring is also very desirable. As the season grows warmer, though, especially if seeding, you’ll need to counteract hot temperatures (lots of evaporation means a dry topsoil) with extra watering or shade cloths.
Conclusion
Well, you’ve made it to the end of this great guide. I’ll admit I don’t know everything, but I do know that this process has not failed me, yet. I will continue to learn, grow, and share, and I hope you’ll join me, together let’s give back to nature by bringing diversity and meadows into our landscapes.
All my love,
Huckleberry Bryan